Guides
Edit a Photo for Cross Stitch: Contrast, Light, Color
Phone-editor steps to fix light, color and contrast before a photo becomes a cross stitch chart, what to leave alone, and how to test each edit.
By Antoine Duno
Updated November 6, 202610 min read
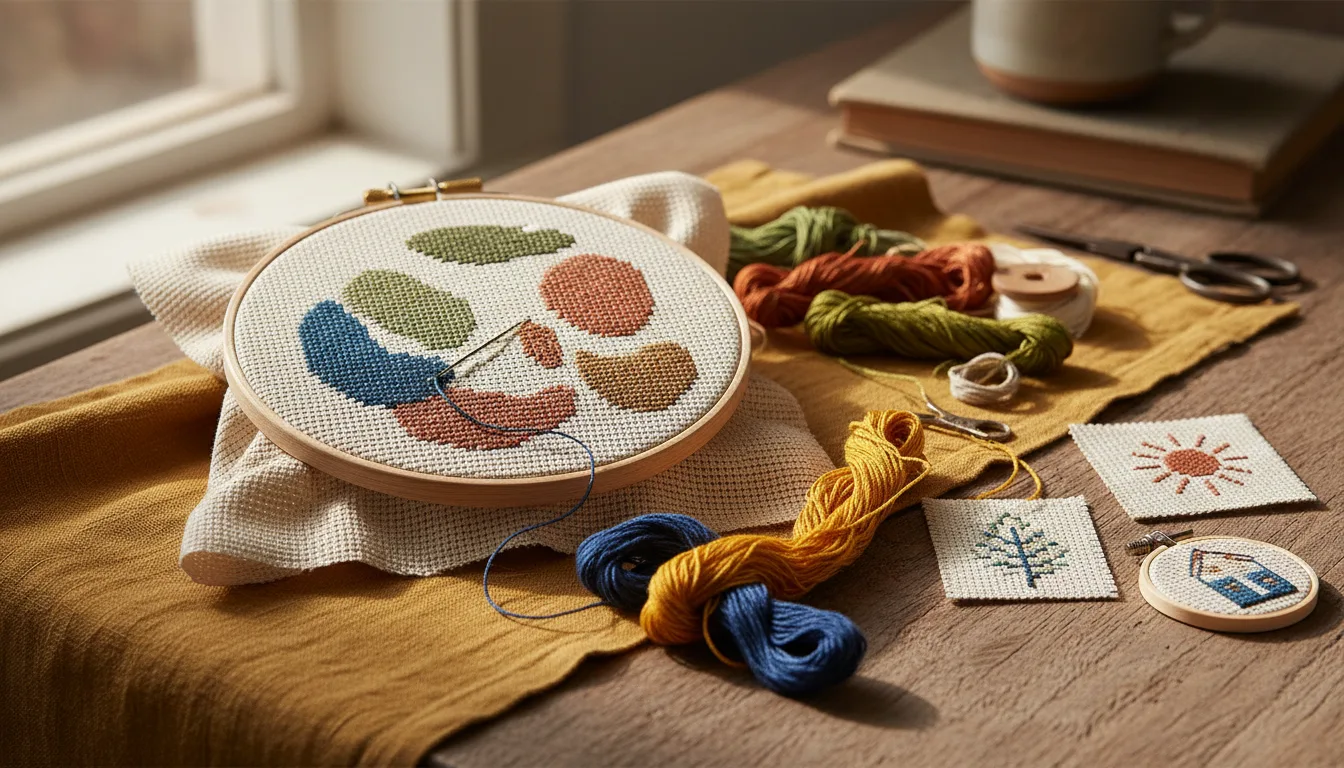
Most photos that make disappointing charts aren't bad photos. They're slightly yellow, slightly dark, or slightly flat, and on a phone screen none of that matters because your eye adjusts. A chart doesn't adjust. It matches every pixel to a thread, so a warm cast becomes orange floss and a murky shadow becomes a brown-grey skein.
Five minutes in the editor already on your phone fixes most of that. The trick is knowing which sliders help a chart and which only help a screen.
Why a chart reacts to edits differently than your eye
Two things happen to a photo on its way to a chart, and each changes which edits are worth making.
Every stitch is an average. Our generator works out each stitch by averaging all the photo pixels it covers. A 3,000-pixel-wide photo charted at 150 stitches wide puts 20 pixels across each stitch. Anything finer than that, like skin pores, crisp fur tips or the halo that sharpening draws along an edge, is averaged away or, worse, tips a handful of stitches into a different color. Edits that work at stitch scale (overall light, overall color, broad contrast) carry through. Edits that work at pixel scale mostly don't.
Every color becomes the nearest thread. The generator groups the photo's colors, then matches each group to the closest DMC floss. A color cast doesn't get corrected along the way; it gets matched. A face lit by a warm bulb gets warm threads, and they look far warmer on fabric than the photo did on screen.
So the aim of editing isn't a photo that looks good. It's a photo whose broad light and color are true, with a clear edge around the subject.
The phone editors you already have
You don't need special software. The built-in editors do everything below.
iPhone Photos. Apple's guide: open the photo, tap the edit button, then tap Adjust and swipe through settings such as Exposure, Brilliance or Highlights. Tapping the photo compares the edit with the original, and after saving you can still revert to the original. Straighten and crop live in a separate crop tool.
Google Photos on Android. Google's help page lists Brightness, Contrast, Saturation and Warmth under Adjust, with Straighten and Rotate under Crop. One thing to watch: Google describes Save as saving the changes to the original photo, and Save as copy as making a new photo and leaving the original alone. Use Save as copy, because you'll want the original for the comparison at the end.
Slider names differ between phones and app versions. Where this guide says "warmth", look for warmth, temperature or white balance; where it says "brightness", your editor may say exposure.
Step by step
1. Work on a copy
Keep the untouched original. You need it for the before-and-after check, and some edits look better on screen and worse in thread, so you'll sometimes go back.
2. Straighten
A slightly tilted horizon, roofline or table edge becomes an obvious staircase of stitches. Level anything that should be level before anything else, as cropping a photo for cross stitch explains. You can leave the final crop to the generator, where you drag the crop box and see the chart size change as you go.
3. Fix the light
Look at the subject, not the whole photo. If the face or the coat is dark, lift brightness or exposure until it looks a touch lighter than feels natural. Dark areas are where colors drain into muddy browns and greys, and a chart makes that worse, not better.
Go gently with highlights. Pulling highlights down recovers detail only if the camera recorded it. Where the photo is pure white, the slider turns flat white into flat grey. Our guides to white dogs and cats and black dogs and cats cover the two extremes, where exposure matters most.
4. Correct the color cast
This is usually the single most useful edit. Find something in the photo that should be neutral: a white shirt, the white of an eye, a grey wall. Move warmth or white balance until it looks neutral. Indoor lamp light usually needs cooling; shade and overcast light sometimes need a little warming.
Skin shows this first. A face that's slightly warm in the photo can come out orange in thread, and a face in cool shade can come out grey. Cross stitch skin tones goes through the fixes for faces in detail.
5. Separate the subject from the background
A chart's biggest readability problem is a subject that melts into its surroundings: a brown dog on a brown sofa, dark hair against a dark door. A small contrast increase helps. More targeted, and often better, is making the background lighter or darker than the subject, so the edge becomes a real change in tone that the averaging can't blur away.
If the background is plain, you can also remove it in the generator and leave that area as bare fabric. Its background option works from the edges inwards and suits walls and sheets, not gardens or busy rooms.
6. Erase small distractions
A leash, a sign, a stray toy at the edge: anything in the photo spends colors and stitches. Both phones have object-removal tools. Apple lists Clean Up among its Apple Intelligence editing tools, available on supported models, and Google lists Magic Eraser under Actions. Use them for small things near the edge. Erasing something large across the subject leaves invented texture, and the chart will faithfully stitch it.
What to leave alone
| Edit | Why it looks good on screen | What it does to a chart |
|---|---|---|
| Saturation boost | Colors look lively on a backlit display | Pushes matches toward strong thread shades that look harsh on fabric |
| Sharpening, clarity, "HDR" effects | Crisp edges and texture at pixel scale | Halos and fine texture that become scattered single stitches |
| Filters and film looks | A mood, a tint | A tint across every thread in the key, and extra colors spent on it |
| Vignette | Draws the eye to the center | Dark gradient corners that claim several shades of their own |
| Heavy shadow lift | Reveals detail in dark areas | Brightens noise too, which arrives as speckle |
| Grain or texture effects | A film feel | Pure speckle, and every speck wants a thread |
Saturation deserves a word of its own. Screens emit light and thread reflects it, so the most vivid color a phone can show has no equivalent in floss. The generator finds the nearest thread either way, and an exaggerated color gets a stronger, often cruder, match. Why DMC colors look different on screen and in thread goes further into that gap. If anything, a slight reduction in saturation often gives a calmer chart.
The before-and-after check
A phone screen is a poor judge of what a chart will look like. The preview is a better one, so let it decide.
- Open the original in the generator. Set the crop, the chart width, the fabric and the number of colors you'd actually use.
- Note the settings, then open the edited copy and use exactly the same ones. The generator has no randomness in it, so the same photo with the same settings always gives the same chart. Any difference you see comes from your edit.
- Compare four things, zoomed in:
- The eyes. Still several stitches across, with a pale catchlight?
- The edge. Does the subject's outline read clearly against the background?
- The key. Are the main colors plausible? Skin that reads as skin, fur that isn't orange, a white wall that isn't yellow?
- Flat areas. Is a wall or sky smooth, or has it filled with scattered single stitches?
- Keep the winner. If the edit doesn't clearly win on those four, use the original. Often the answer is a smaller edit than the one you made.
If both versions have the same problem, it's probably not an editing problem. Photo cross stitch pattern looks bad? sorts problems by cause: size, crop, colors or the photo itself.
Checking colors against real thread
Even a well-edited photo passes through a screen twice: once when you edit, once when you look at the preview. Neither shows thread exactly. Before buying floss for a piece that matters, check the main colors of the key against DMC's own references. DMC sells a colour-accurate printed shade card listing all 500 solid colors of its stranded cotton, and a version with small swatches of each thread. The swatch version, held in daylight next to your photo, is the honest test.
If a key color looks wrong on the card, go back to step 4 rather than swapping threads by hand. A cast in the photo usually affects several colors at once, and fixing it at the source fixes all of them.
A quick order of work
For the whole process from choosing a photo to printing the chart, start with how to turn a photo into a cross stitch pattern. For the editing part alone:
- Copy the photo.
- Straighten.
- Brightness or exposure for the subject.
- Warmth until neutrals look neutral.
- A little contrast, or a lighter or darker background.
- Erase small distractions.
- Compare original and edit in the preview at identical settings.
Frequently asked questions
Should I edit a photo before turning it into a cross stitch pattern?
Yes, lightly. Fixing a color cast, lifting a dark photo and adding a little contrast between the subject and the background usually improve the chart. Heavy sharpening, filters, vignettes and strong saturation usually make it worse, because the chart copies them as extra colors and scattered single stitches.
What is the most useful edit for a cross stitch photo?
Correcting the color cast. Indoor light often makes a photo too yellow or orange, and a chart matches that color faithfully in thread. A small warmth or white balance adjustment, until something that should be white or grey looks neutral, fixes skin, fur and walls in one move.
Should I increase saturation for a brighter pattern?
Usually not. Boosted saturation looks lively on a screen, but thread can't glow like a backlit display, and exaggerated colors get matched to strong thread shades that look harsh on fabric. Leave saturation alone, or lower it slightly if the preview's skin or fur looks garish.
Does sharpening help a cross stitch pattern?
No. Each stitch is an average of the pixels it covers, so sharpening doesn't add detail at stitch size. What it does add is edge halos and fine texture that can turn into isolated single stitches. If a photo is soft, crop tighter or choose a sharper frame instead.
How do I know if my edit made the chart better?
Generate the chart from the original and from the edited copy with the same width, fabric and color settings, then compare the two previews. Look at the eyes, the edge between subject and background, and the color key. If the edited version doesn't win on those, discard the edit.
Will editing fix a blurry or blown-out photo?
No. Editing can redistribute detail the camera recorded, but it can't create detail it didn't. Pure white highlights stay flat when you pull them down, and blur stays blur when you sharpen it. A different photo from the same day nearly always beats a heavily rescued one.
Sources
- Apple Support — Edit photos and videos on iPhone (Adjust: Exposure, Brilliance, Highlights; compare with original; Clean Up)
- Apple Support — Undo and revert photo edits on iPhone (Revert to Original)
- Apple Support — Crop, rotate, flip, or straighten photos and videos on iPhone
- Google Photos Help — Edit your photos on Android (Adjust: Brightness, Contrast, Saturation, Warmth; Straighten; Magic Eraser; Save vs Save as copy)
- DMC — Embroidery shade card, printed (all 500 solid colors) and thread-swatch versions
Keep stitching
 Guides
Best Photos for Custom Cross Stitch Patterns
Choose, crop and light a photo for a custom cross stitch pattern, balance colors and stitch count, and shoot pets and people so the chart reads well.
Read · 9 min Guides
Photo Cross Stitch Pattern Looks Bad? 9 Fixes
Why a cross stitch pattern from a photo looks bad, from blob eyes and confetti to muddy colors, and the fix for each: crop, size, colors or a better photo.
Read · 10 min Guides
Cross Stitch Skin Tones: Charting Faces From Photos
Why faces turn orange, grey, blotchy in photo cross stitch charts, how to fix the photo and palette, and how to check skin shades against real DMC thread.
Read · 12 min Guides
Crop a Photo for Cross Stitch: 7 Framing Rules
How to crop a photo for a cross stitch pattern: give the subject the stitches, match the frame or hoop, check pixels, with stitch counts for common frames.
Read · 10 min Guides
Photo Cross Stitch Pattern Size: Stitches vs Detail
How many stitches wide a photo pattern needs for eyes, faces and lettering to read, with the arithmetic, fabric sizes by count and a check you can run.
Read · 11 min Guides
Using Photos for Cross Stitch: the Copyright Rules
Plain-English general information on cross stitch copyright: your photo versus someone else's, characters and artworks, and what changes if you sell.
Read · 12 min