
Guides
How to Frame Cross Stitch: Lacing, Mounting, Glass
How to frame cross stitch so it lasts: sizing the board, lacing or stitching it on, spacers that keep it off the glass, UV glazing, and what never to use.

By Antoine Duno
Updated October 20, 202613 min read
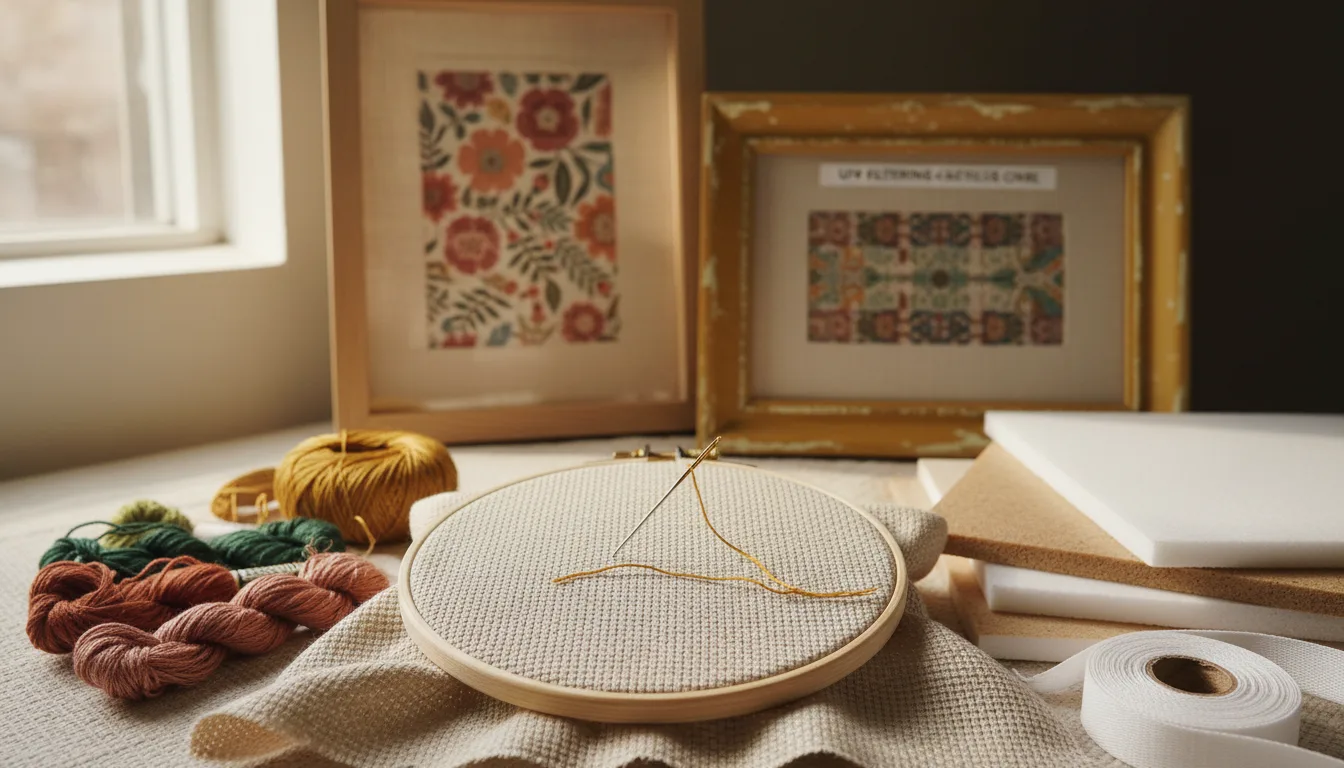
Most cross stitch that yellows, stains or ripples in its frame wasn't damaged by the stitching. It was damaged by what it was framed with: acidic card behind it, tape or glue holding it, and glass pressing flat against the stitches. None of that shows on the day you hang it. It shows in five or ten years, which is exactly when a wedding sampler or a pet memorial matters most.
This guide covers framing from start to finish, using published conservation guidance from the Canadian Conservation Institute and a Minnesota Historical Society textile conservator, plus DMC's instructions for preparing the fabric. It works for a piece you frame yourself and as a checklist to take to a framer.
The framing package, layer by layer
A framed piece is a stack. Each layer has a job, and the conservation sources are specific about what each should be made of.
| Layer, front to back | Job | What to use | What to avoid |
|---|---|---|---|
| Glazing | Keeps dust, pollutants and soiling off | Glass or acrylic with a UV filter | Plain glass or non-glare glass without UV filtering, for a piece you want to keep |
| Mat or spacer | Holds the glazing off the stitches | Acid-free mat board, or a plastic frame spacer | Glazing resting on the stitching |
| Your cross stitch | Clean, dry, pressed | Anything damp | |
| Mount board | Supports the fabric flat | Acid- and lignin-free board, e.g. 4-ply or 8-ply | Acidic card, unsealed wood or hardboard |
| Attachment | Holds the fabric on the board | Lacing, or stitching to a fabric-covered board | Glue, adhesive tape, adhesive-coated board, staples, tacks |
| Backing board | Protects from knocks and dust | A stable board | Corrugated cardboard |
| Seal and dust cover | Keeps dust out of the back | Tape where the backing meets the frame; a dust cover | Leaving the back open |
Sources: CCI Notes 13/17, Conservation Framing of Embroideries and Other Flat Textiles and the Minnesota Historical Society's Advice for Framing Textiles.
Step 1: Size the fabric, board and frame
Framing starts before the first stitch, when you cut the fabric. DMC recommends leaving at least 8 cm / 3 inches all the way around the design for framing. The Cross Stitch Guild's FAQ adds 13 cm (5 inches) to both dimensions for a picture or sampler. The difference is small; what matters is that the spare fabric has to wrap around a board.
The finished stitching is stitches ÷ fabric count. As a worked example on 14-count Aida, with DMC's border:
| Design | Finished stitching | Fabric with 3 in all round | Board if you want 1 in of bare fabric showing on each side | Fabric left to wrap behind the board, each side |
|---|---|---|---|---|
| 80 × 80 | 5.7 × 5.7 in | 11.7 × 11.7 in | 7.7 × 7.7 in | 2 in |
| 150 × 150 | 10.7 × 10.7 in | 16.7 × 16.7 in | 12.7 × 12.7 in | 2 in |
| 150 × 200 | 10.7 × 14.3 in | 16.7 × 20.3 in | 12.7 × 16.3 in | 2 in |
Two rules come out of the arithmetic:
- Every inch of visible space around the design comes out of the wrap. Want 2 inches of bare fabric showing on each side instead of 1? The wrap drops to 1 inch, which is tight to lace. If you want a lot of space around the design, cut more fabric, or use a mat to create the space instead.
- Decide the frame before you cut, if you can. A standard frame is cheaper than a custom one, and it fixes the board size. Cross stitch frame sizes works backwards from standard frames to stitch counts, and the fabric size calculator does the arithmetic for other counts.
The Minnesota Historical Society's mounting sheet adds one practical check: the board should fit easily inside the frame without sticking against the sides.
Step 2: Clean, dry and press it first
The Canadian Conservation Institute says textiles should be cleaned before they are mounted and framed. A piece that has been handled for months carries skin oils and hoop marks, and a sealed frame locks them in.
For a colorfast cross stitch, that means:
- Test for colorfastness. The Cross Stitch Guild's check is to press a damp white tissue against the back of the stitches; any color on the tissue means don't wash.
- Wash in cold water with a small amount of non-biological detergent, rinse until the water runs clear, and stop if the rinse water becomes colored, as DMC's washing guidance says.
- Roll it in towels without wringing, and let it dry flat until damp.
- Press face down between two towels with a warm iron, never a hot one. How to iron cross stitch covers this step.
- Let it dry completely before framing. The MNHS framing sheet notes that condensation inside a frame can leave a tide line or stain on a textile; don't start with moisture already in the fabric.
If a piece has problems beyond ordinary handling, such as mold, stains, insect damage or colors that run, CCI advises referring it to a conservator before framing. That applies most to old family samplers.
Step 3: Mount it on a board
This is the step that decides whether the piece can ever come out of the frame again. There are two good ways to do it and several bad ones.
Option A: Lacing over a board
Lacing is the traditional stitcher's method. The fabric is wrapped around an acid-free board and held by long stitches worked across the back.
- Cut an acid- and lignin-free board to the size you worked out in step 1.
- Center the design on the board. Fold the fabric in half each way to find the center, as DMC suggests for preparing fabric, and line it up with the center of the board.
- Line up the grain. Hold the fabric in place along the edges with pins so the rows of Aida run parallel to the board edges. Check the front: a row of stitches that runs uphill will run uphill forever.
- Fold two opposite edges to the back and lace between them with a long length of strong thread, working from the middle outwards and tightening gradually.
- Fold the corners neatly, then fold the other two edges and lace between them the same way.
- Check the front again, adjust the tension until the fabric is smooth and the grid is square, and finish the thread securely.
Keep the tension even rather than tight. A drum-tight lace distorts the grid and can bow a thin board. Cross stitch tension explains why uneven stitching shows most once a piece is stretched flat.
Option B: Stitching to a fabric-covered board
This is the method the conservation sources describe. The MNHS mounting sheet, written by a textile conservator, sets it out:
- The board: acid-free rag board, 4-ply or 8-ply.
- The cover: washed 100% cotton plain-weave fabric, colorfast, washed without softener or bleach, pulled taut over the board but not so tight it warps it. The sheet sews the cover into a pocket that slides over the board.
- Positioning: lay the needlework on acid-free tissue, use the tissue as a sling to place it, slide the tissue out, then pin at an angle through the textile into the mount fabric only.
- The stitching: a long, thin curved needle and cotton or cotton-wrapped thread, avoiding polyester thread, which the sheet says can slice through fibers. Herringbone stitch along the top edge, vertical rows of herringbone about 1 to 3 inches apart worked from the center out, and an overcast stitch around the perimeter.
- The rule: don't pierce the yarns of the textile; cross over them so the stitch supports them, and never pull the sewing thread tight.
CCI's Notes 13/6 describes a similar support for small textiles such as samplers: acid-free 4-ply or 8-ply mat board a few centimetres larger all round than the piece, covered in washed cotton or cotton-polyester fabric, with the textile stitched on. It glues the cover fabric only on the back of the board, away from the textile.
Which to choose
| Lacing | Stitching to a covered board | |
|---|---|---|
| Suits | Aida and evenweave pieces with a generous margin | Pieces with little spare fabric; old or fragile samplers |
| Fabric margin needed | Enough to wrap and lace | Less, because the piece sits on top of the board |
| Removable later | Yes, cut the lacing | Yes, cut the stitches |
| Glue near the stitching | None | None on the textile |
Both keep the piece removable. What they replace is the quick finish: stapling fabric to a stretcher, taping it to card, or pressing it onto adhesive board.
Step 4: Keep the stitching off the glass
Cross stitch is raised, and glazing pressed against it flattens the stitches and traps moisture against the fabric. The MNHS framing sheet is direct: the textile must never touch the glazing, with a space of at least 3/8 inch recommended, and often more for embroidery.
Two ways to create the gap:
- A window mat thick enough to hold the glass away. It also creates visible space around the design without using up your wrap fabric. Use acid- and lignin-free board: MNHS notes that if the cut bevel of a mat has turned tan, beige or brown, the board is probably acidic, and that "rag" board isn't automatically acid-free.
- A spacer fitted inside the frame's rabbet, the recess behind the molding. CCI lists acid-free mat board strips and commercial plastic spacer strips; MNHS mentions spacers of polypropylene or polyethylene.
Then check the frame is deep enough. MNHS advises choosing a rabbet deep enough for the mounted piece, the mat or spacer, and the glazing together. Stack your layers and measure them before you buy the frame.
Step 5: Choose the glazing
Both conservation sources say glass and acrylic are suitable, provided they filter ultraviolet light.
| Glazing | For | Against |
|---|---|---|
| UV-filtering acrylic | Light; doesn't break if dropped | Scratches easily; builds static that can lift loose threads when wiped |
| UV-filtering glass | Doesn't scratch or build static | Heavy; breaks if dropped |
| UV-filtering non-glare glass | As glass, with less reflection | Breaks if dropped; without a UV filter it protects no better than ordinary glass |
The static point matters for cross stitch in particular. A surface of thousands of raised stitches with loose fibers is exactly what an acrylic sheet's charge picks up. If you use acrylic, dust it gently rather than wiping it hard.
A frame without glazing is fine for a cheerful kitchen piece you'll wash again. For a portrait or a memorial, the glazing is part of what keeps it.
Step 6: Close, seal and hang it
- Backing board. CCI says backing boards give extra protection from dust and knocks and should be made of stable materials.
- Seal the back. CCI describes taping across the join where the backing board meets the frame, and prefers gummed linen tape to brown kraft tape because it's more stable. The tape goes on the frame, not the textile.
- Dust cover. MNHS adds a dust cover on the back of the frame to reduce airflow further.
- Hardware. MNHS recommends rust-resistant hardware inside the frame, and says mirror hangers are more secure than wire; if you use wire, use two hangers, not one, to keep the frame straight.
- Where it hangs. Both sources warn against direct sunlight. CCI adds areas above or next to fireplaces, radiators and heating vents. MNHS says to avoid fluorescent light and keep light as low as practical.
Taking it to a framer
A framer can do all of this for you. It's still your piece, so ask before you hand it over:
- How will you attach the fabric? You want lacing or stitching. Say no to glue, tape, staples and self-adhesive board.
- Is the board acid- and lignin-free? Ask about the mat and the mount board both.
- Will the stitching touch the glass? It shouldn't. Ask whether they'll use a mat or a spacer.
- Is the glazing UV filtering? Especially if they suggest non-glare glass.
- Will the back be sealed?
- What's the turnaround? If the piece is a gift, ask before you set a date. How to finish cross stitch has the full timeline from last stitch to wall.
Take the piece washed, pressed and dry, with its full margin untrimmed.
Framing photo cross stitch
Charts made from photographs raise two framing decisions that designed charts usually don't.
Bare fabric as background. Many photo pieces leave the background unstitched. That bare Aida is part of the picture, so a lacing that pulls the grid crooked or a crease left in the fabric shows far more than it would at the edge of a sampler. Press carefully and square the grain before you tighten.
Size. A portrait with recognizable features is often large. A 150 × 200 chart finishes at 10.7 × 14.3 inches on 14-count before any mat. Check the frame and glazing costs at that size before you choose the chart; a finer fabric count makes the same chart smaller. For a wedding portrait with names and a date, wedding cross stitch from a photo covers planning the lettering and the layout so it sits well in a frame.
If you're planning the next piece, pick the frame first, then try a photo at the stitch count that fits it.
Frequently asked questions
Should cross stitch be framed with glass?
Glazing is worth it for a piece you want to keep. The Canadian Conservation Institute says glazing reduces damage from dust, pollutants and accidental soiling. Choose glass or acrylic with a UV filter, and never let the stitching touch it: the Minnesota Historical Society recommends at least 3/8 inch of space, often more for embroidery.
Can I use glue or self-adhesive board to mount cross stitch?
Not if you want the piece to last. The Canadian Conservation Institute lists glues, adhesive tapes, adhesive-coated boards, staples, tacks and nails among materials that should never touch a textile. Lace the fabric over a board or stitch it to a fabric-covered board instead, so it can be taken out and remounted later.
What is lacing cross stitch for framing?
Lacing means wrapping the fabric around a board and holding it there with long stitches worked back and forth across the back, first between two opposite edges and then the other two. Nothing glues or staples the fabric, so the piece stays removable. Use an acid-free board and keep the grain straight as you tighten.
How much fabric do I need around cross stitch to frame it?
DMC recommends at least 3 inches, or 8 cm, all around the design for framing, which adds 6 inches to each dimension. The Cross Stitch Guild's FAQ adds 5 inches to both dimensions for a picture. The spare fabric wraps around the mounting board, so cutting it too small is hard to fix later.
Should I wash cross stitch before framing it?
Usually, if it's colorfast and has been handled for months. The Canadian Conservation Institute says textiles should be cleaned before they are mounted and framed. Test first with a damp white tissue on the back, then follow DMC's cold-water method, and let the piece dry completely before it goes into a sealed frame.
Can I take cross stitch to a framer?
Yes, and for a large or important piece it's often the best option. Ask how they will attach the fabric, and say no to glue, tape, staples and self-adhesive board. Ask for acid- and lignin-free board, UV-filtering glazing, and a mat or spacer so the stitching doesn't touch the glass.
Sources
- Canadian Conservation Institute — CCI Notes 13/17: Conservation Framing of Embroideries and Other Flat Textiles (unacceptable materials, spacers, glazing, backing, sealing, display)
- Canadian Conservation Institute — CCI Notes 13/6: Mounting Small, Light, Flat Textiles (acid-free mat board support, covered board, stitching)
- Minnesota Historical Society — Conservation tips: Advice for Framing Textiles (acid-free board, UV glazing, at least 3/8 inch from the glazing, rabbet depth, hardware, light), 2000
- Minnesota Historical Society — Conservation tips: Mounting flat needlework textiles on a fabric-covered board for framing (hosted by the GWU Textile Museum), 2000
- DMC — How to prepare your fabric (at least 8 cm / 3 inches for framing; finding the center)
- DMC — How to clean and wash finished needlework (cold water, drying, pressing face down)
- The Cross Stitch Guild — Cross stitch FAQs (5 inches added for a picture; damp tissue colorfastness test)
Keep stitching
 Guides
How to Finish Cross Stitch: Wash, Press, Frame, Sew
How to finish cross stitch in the right order: check, test for colorfastness, wash, press, then frame, hoop or sew it, with museum advice on framing.
Read · 13 min Guides
Wedding Cross Stitch From a Photo: Names and Date
Plan a wedding cross stitch from a photo: choosing and sizing the couple photo, a white dress on white fabric, names and date lettering, and when to start.
Read · 11 min Guides
Crop a Photo for Cross Stitch: 7 Framing Rules
How to crop a photo for a cross stitch pattern: give the subject the stitches, match the frame or hoop, check pixels, with stitch counts for common frames.
Read · 10 min Guides
Cross Stitch Skin Tones: Charting Faces From Photos
Why faces turn orange, grey, blotchy in photo cross stitch charts, how to fix the photo and palette, and how to check skin shades against real DMC thread.
Read · 12 min Guides
Photo Christmas Ornament Cross Stitch: Small Charts
Turn a pet or baby photo into a cross stitch Christmas ornament: chart sizes that still read, finished size by fabric count, lettering, sparkle and timing.
Read · 11 min Guides
Christmas Cross Stitch Gift: When to Start by Size
When to start a Christmas cross stitch gift, by chart size: start-by dates worked back from December 25, 2026, and the largest chart you can still finish.
Read · 7 min