Guides
Baby Birth Sampler Cross Stitch: Name, Date, Photo
Plan a birth sampler around a photo: what to include, how many rows lettering takes, charting the name by hand, and what to stitch before the birth.
By Antoine Duno
Updated November 2, 202611 min read
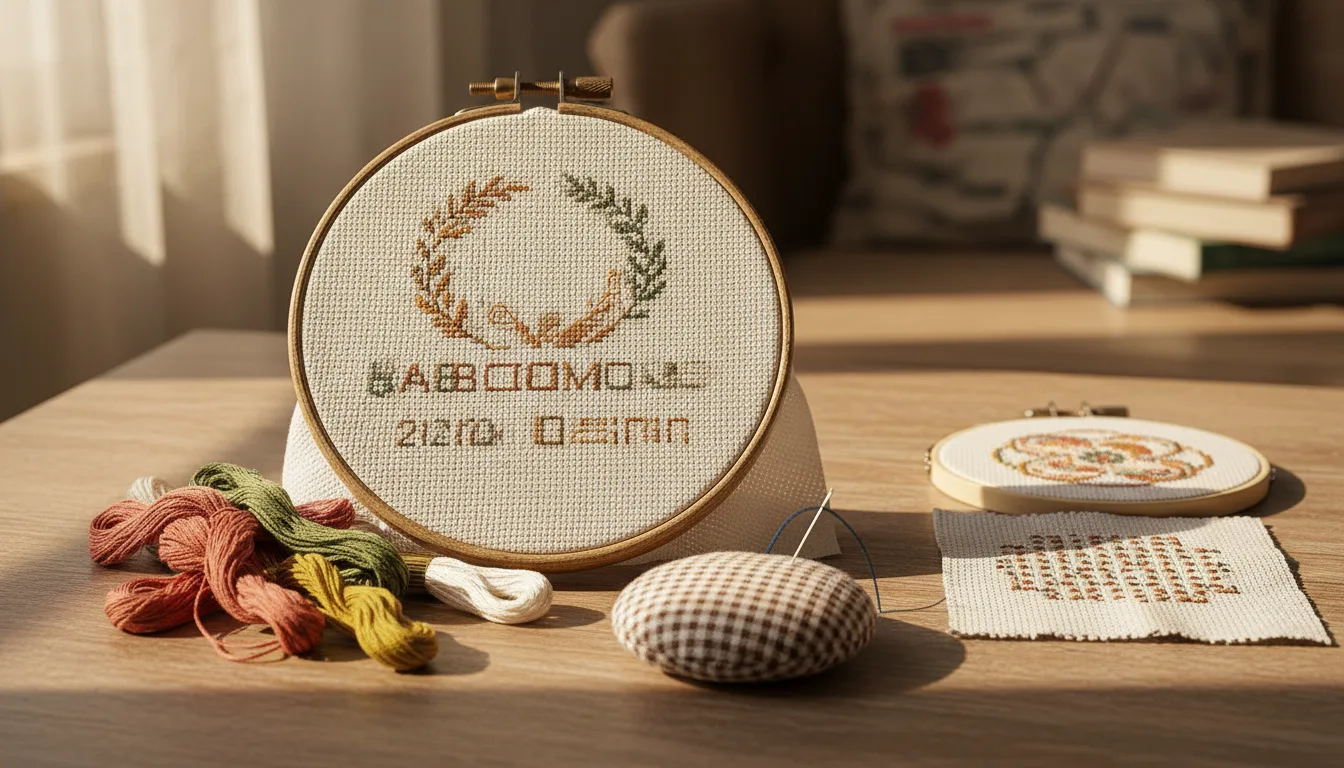
A birth sampler is one of the oldest reasons anyone has stitched letters into cloth. It's also a gift with an awkward shape: the picture can be ready weeks ahead, but the name, the date and the weight only exist once the baby does, and sometimes the name takes a few days more.
This guide is about planning around that. It covers which details belong on the sampler, how to combine a photo with lettering, how much room the lettering takes as plain arithmetic, and what you can stitch before the birth. One thing to know up front: our generator charts photos, not text, so the lettering is something you chart by hand. That's easier than it sounds, and the steps are below.
What goes on a birth sampler
Samplers have recorded births for a long time. The earliest dated British sampler to survive, stitched by Jane Bostocke in 1598 and now at the Victoria and Albert Museum, commemorates the birth of her cousin Alice Lee two years earlier. Its inscription gives the date, 23 November 1596, the day of the week, a Tuesday, and that she was born in the afternoon. The V&A lists cross stitch and back stitch among the stitches used. Lettering became a staple of the form: the Cross Stitch Guild's sampler history notes that stitching alphabets and numbers also taught children basic literacy and numeracy.
The details families choose today are much the same idea:
| Detail | Worth including when | Watch out for |
|---|---|---|
| First name | Always | Confirm the exact spelling with the parents |
| Middle and last name | There's room, or the family wants the full name | A long full name can double the width of a line |
| Date of birth | Always | Write the month as a word; 03.04 means different days in the US and UK |
| Time of birth | The family knows and likes it | 12-hour or 24-hour clock: use what they'd say aloud |
| Weight | The family shares it | Pounds and ounces or kilograms: ask which they use |
| Length | The family shares it | Inches or centimeters, as above |
| Place of birth | The town matters to them | Hospital names can be long; a town is shorter |
| Parents' or siblings' names | It's a family piece | Every name adds a line or widens one |
Two practical points. Don't put the name on anything visible until the parents have announced it. And if the family isn't sharing the weight or time, leave them out: a sampler with only a name and date is complete.
Choosing the picture
A birth sampler doesn't need a portrait, and a newborn is not the easiest face to chart. Babies' features are small and soft, and faces need more stitches than most subjects before they read. Family portrait cross stitch explains why.
| Picture | Why it works | Tips |
|---|---|---|
| A sleeping face, close up | Closed eyes remove the hardest feature to chart | Crop tight to the face; plain light, no flash |
| A tiny hand around a parent's finger | Instantly recognizable, few colors | Crop to the hands; contrast between the two skin tones helps |
| Feet | Simple shape, reads at a small size | A plain blanket underneath |
| A footprint or handprint on paper | Nearly one color, very small chart | Photograph it flat in daylight |
| The nursery, a toy, the family pet | Personal without needing a face | Keep the subject large in the crop |
Whatever you choose, crop hard. The subject should fill the frame, because every stitch of background is a stitch not spent on the baby. Crop a photo for cross stitch covers the framing rules.
If a professional newborn photographer took the photo, ask them before you chart it. As general information and not legal advice, the photographer usually owns the copyright; using photos for cross stitch explains what the US Copyright Office says.
Planning the layout
The simplest layout that works: the picture on top, the name below it, then one or two short lines of details, with a border of plain fabric or a simple stitched line around everything.
How much room the lettering takes
A capital letter needs at least 5 rows to hold its shape: three bars and two gaps in an E. A name wants a little more presence than the details, so a common approach is a larger alphabet for the name and a smaller one for the rest.
Here's a full layout worked through as arithmetic. It's an example, not a rule, so change any number to suit your alphabet and picture.
| Part | Rows |
|---|---|
| Top margin inside the border | 5 |
| Photo motif, 80 × 80 | 80 |
| Gap | 4 |
| Name, letters 7 rows tall | 7 |
| Gap | 3 |
| Date line, letters 5 rows tall | 5 |
| Gap | 2 |
| Time and weight line, letters 5 rows tall | 5 |
| Bottom margin | 5 |
| Total | 116 |
Width works the same way. With name letters 5 stitches wide and 1 stitch of spacing, each character takes about 6 stitches, so a name of 11 characters including the space, such as "OLIVIA ROSE", is about 66 stitches. A 100-stitch-wide design fits the 80-stitch picture and that name with room to spare.
Now the finished size. DMC defines count as the number of stitches you can make in an inch, and recommends a clear border of at least 8 cm / 3 inches all round for mounting and framing, which adds 6 inches to each dimension:
| Fabric | Stitched design, 100 × 116 | Fabric to cut |
|---|---|---|
| 14-count Aida | 7.1 × 8.3 in | 13.1 × 14.3 in |
| 16-count Aida | 6.3 × 7.3 in | 12.3 × 13.3 in |
| 18-count Aida | 5.6 × 6.4 in | 11.6 × 12.4 in |
Plan for the longest name. If the name isn't chosen, size the name line for the longest candidate, or for first name only. A short name centered in a wide space looks deliberate; a long name squeezed into a short one doesn't.
Charting the lettering by hand
Our generator turns the photo into a chart of full cross stitches with DMC colors. It doesn't add text, so the name and details are charted separately. You need graph paper, a pencil and an alphabet you like; many stitchers use one from a book or a chart they already own.
- Mark the design's center on your graph paper. The photo chart has its own center, and you'll line the two up by counting.
- Draw the picture's outline as a box, using its width and height in stitches from the chart.
- Write each line of lettering in pencil, one square per stitch, starting with the longest line.
- Center each line. Count its width, halve it, and start that many squares left of the center column.
- Check the gaps between lines against your layout plan, and adjust before inking anything.
- Choose the thread from the photo chart's key, often the darkest shade, so the lettering doesn't need a new skein.
- Have someone else read the spelling and the date aloud from your paper chart, before a single letter is stitched.
On the fabric, DMC suggests finding the center by folding the fabric in half and in half again. Stitch the picture from its center, then count down from its bottom edge to place the lettering.
What to stitch before the birth
The gift has to wait for the details, but most of the stitching doesn't.
- Before the birth: prepare the fabric, stitch any border, and stitch the picture if it doesn't depend on the baby, such as a toy, the nursery or a motif. Chart the alphabet and draw the layout with the name line left blank.
- In the first days: once the name and details are confirmed, write them into the paper chart and check them with the family, or with someone who knows.
- Then: stitch the lettering. It's a small part of the stitch count, so it goes quickly.
- If the picture is the baby: you need the photo first, so start with the border and the lettering, and chart the picture as soon as a good photo arrives.
A birth sampler doesn't have to arrive in the first week. Given at a naming day, a first Christmas or a first birthday, it can include a better photo and details the family has settled on. Cross stitch gifts from photos shows how to count back from any gift date, and quick cross stitch gifts has smaller pieces if time is short.
Cross stitch or backstitch lettering
Both are traditional, and the Bostocke sampler used both.
- Cross-stitched capitals are the classic sampler look. They match a photo chart made entirely of full cross stitches, and they're easy to count.
- Backstitch lettering suits small or joined-up script. DMC describes back stitch as useful for small lettering, added after the cross stitches because it can overlap stitched areas, with a single strand for fine lines. DMC also suggests a darker shade of a color already in the piece instead of black, for a softer look.
Chart your choice before sizing the layout, because backstitch letters usually take fewer rows than cross-stitched ones. Backstitch in cross stitch covers lettering in backstitch in detail, and the wedding cross stitch guide works through names and dates on a larger piece.
Framing and giving
A birth sampler is usually framed. Standard frames come in fixed sizes, so it's worth choosing one before you settle the fabric margins. Cross stitch frame sizes turns a frame opening into a stitch count, and how to finish cross stitch covers washing and pressing before it goes in.
When the photo and the layout are ready, upload the photo, set the width to the space you planned, and see the picture as a chart before you stitch the first letter.
Frequently asked questions
What goes on a cross stitch birth sampler?
Usually the baby's name and date of birth, and often the time, weight and length, the place of birth, or the parents' names. The oldest dated British sampler, from 1598 and now at the V&A, records a birth with the day of the week and that it was in the afternoon. Pick the details the family will care about most.
Can I make a birth sampler before the baby is born?
Yes, most of it. Stitch the border and any picture first and leave space for the lettering, which you chart and stitch once the name, date, time and weight are known. Plan the space for the longest name you might need, so a late decision doesn't force you to restart.
How big should the lettering be on a birth sampler?
Big enough to read, and smaller than the picture. A capital letter needs at least 5 rows to hold its shape. As arithmetic, a name 7 rows tall plus a 3-row gap adds 10 rows, about 0.7 inches on 14-count Aida, and each extra 5-row line of details with a 2-row gap adds 7 rows.
Can a photo pattern generator add the baby's name?
Ours can't. It charts the photo as full cross stitches in DMC colors, but it doesn't add lettering, so the name, date and details are charted by hand on graph paper and placed by counting from the center. That also means you can change the name up to the day you stitch it.
What photo works for a newborn cross stitch?
A simple, close photo with good light: a sleeping face, a hand holding a parent's finger, or tiny feet. Closed eyes avoid the hardest feature to chart. A small motif around 60 to 80 stitches wide keeps the piece quick. If a professional took the photo, ask them before charting it.
Should the lettering be backstitch or cross stitch?
Either works. Cross-stitched capitals are the traditional sampler look and match a photo chart made of full crosses. Backstitch suits smaller or joined-up lettering: DMC describes it as useful for small lettering, worked after the cross stitches with a single strand for fine lines. Chart it before choosing, since backstitch letters need fewer rows.
Sources
- Victoria and Albert Museum — Sampler by Jane Bostocke, 1598 (earliest dated British sampler; commemorates the birth of Alice Lee; cross stitch and back stitch)
- The Cross Stitch Guild — Threads of History by Jo Verso (alphabets and numbers on samplers)
- DMC — What fabric should I use? (count is the number of stitches you can make in an inch)
- DMC — How to prepare your fabric (border of at least 8 cm / 3 inches; finding the center)
- DMC — Use back stitch to accentuate your cross stitch (small lettering, after the crosses, single strand, darker shades)
Keep stitching
 Guides
Cross Stitch Gifts From Photos: Ideas and Start Dates
Photo cross stitch gift ideas by occasion, with the arithmetic to work out when to start: chart size, your stitching pace, hours a week and finishing time.
Read · 15 min Guides
Wedding Cross Stitch From a Photo: Names and Date
Plan a wedding cross stitch from a photo: choosing and sizing the couple photo, a white dress on white fabric, names and date lettering, and when to start.
Read · 11 min Guides
Personalized Christmas Stocking Cross Stitch: Names
Cross stitch a name and a small photo motif onto a Christmas stocking: Aida band sizes, waste canvas on a ready-made cuff, letter sizing, start-by plan.
Read · 10 min Guides
Photo Christmas Ornament Cross Stitch: Small Charts
Turn a pet or baby photo into a cross stitch Christmas ornament: chart sizes that still read, finished size by fabric count, lettering, sparkle and timing.
Read · 11 min Guides
Christmas Cross Stitch Gift: When to Start by Size
When to start a Christmas cross stitch gift, by chart size: start-by dates worked back from December 25, 2026, and the largest chart you can still finish.
Read · 7 min Guides
Memorial Cross Stitch From a Photo of a Loved One
A memorial cross stitch when the only photo is old, small or shared by text: scanning, choosing, sizing a face, black and white charts and lettering.
Read · 10 min