Technique
Backstitch in Cross Stitch: Outlines for Photo Patterns
How to backstitch in cross stitch, and when photo patterns need it: whiskers, eyes, lettering and fine lines, planned on paper and added after the crosses.
By Antoine Duno
Updated November 4, 202610 min read
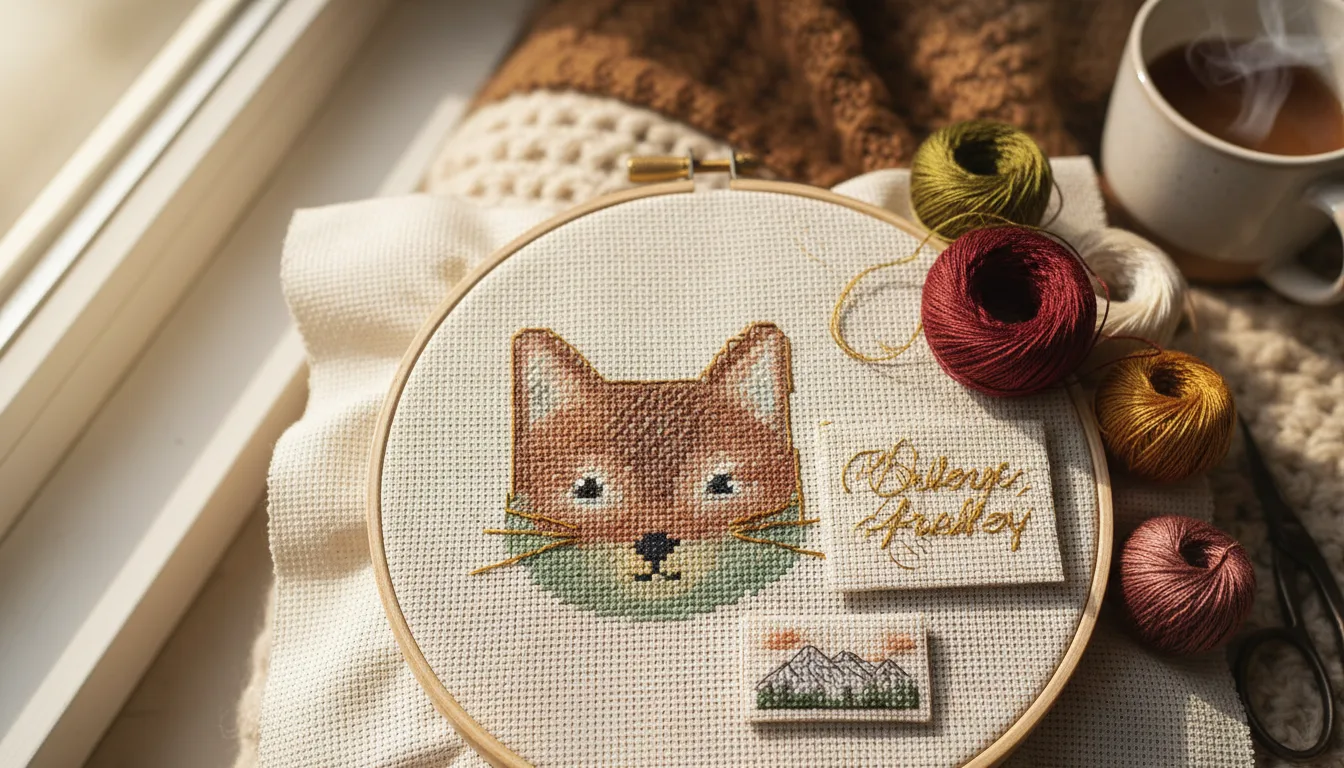
Backstitch is the line in cross stitch: a continuous row of short straight stitches that draws an outline, a whisker or a word on top of the crosses. On a designed chart it's everywhere. On a photo pattern it's usually absent, and knowing why tells you exactly when to add it.
A photograph has no outlines. It has areas of color that meet. A photo chart copies that, which is why a good one looks soft and painterly, and also why anything thinner than a single stitch, like a whisker, a line of text or the frame of a pair of glasses, tends to disappear. Backstitch, added by hand, is how you put those back.
How to work backstitch
DMC's back stitch guide describes the stitch in three moves:
- Make the first stitch. Bring the needle up where you want the line to begin, decide your stitch length, and take the needle down one stitch length along the line.
- Leave a gap and come up. Bring the needle up a gap the same length as your stitch further along.
- Work back. Take the needle down at the end of the first stitch, so the second stitch joins it. Then leave another gap, come up, and go down into the end of the stitch you just made.
Repeat to the end of the line. Each stitch travels backwards on the front and forwards on the back, which is what gives the continuous, unbroken line.
The rules that make it look neat
- Stitch it last. DMC says to add back stitch after completing the cross stitches, because the lines can overlap areas of stitching.
- Keep the lengths even. Uneven stitches make a line look wobbly even when it follows the chart exactly.
- Don't pull. DMC warns that back stitch pulled too tight may pucker the fabric.
- Keep working lengths short. DMC recommends pulling a maximum of 50 cm (18 inches) of floss, since longer thread gets worn from handling.
- Finish off between lines. DMC advises against running thread long distances across the back: secure it, cut it and start again for a line in a different area.
Strands and color
DMC recommends a single strand for fine outlines, and multiple strands or two rows of back stitch for a thicker line. The Cross Stitch Guild's thread basics say two strands is general practice for crosses on 14 and 16-count Aida, and that mixing strand counts in the same project is perfectly acceptable, so one strand of backstitch over two-strand crosses is normal.
For color, DMC suggests darker shades of the colors in the cross stitch instead of black for a more subtle look. On a photo pattern that's almost always right. The Guild's advice for strands applies here too: if unsure, stitch a little and look at it in daylight before committing.
How a chart shows backstitch
DMC's guide to reading a chart says backstitches are generally used for outlining or lettering, and that a straight or dotted line joining two corners of a square means a backstitch is required. The key tells you the thread for each line.
Lines can run along the edges of the squares or diagonally across them. DMC also notes that on Aida you may need to pierce the fabric and stitch between the weave, rather than through the main holes, for curved shapes. That's slower than following the holes, so keep curves for places they matter.
How to read a cross stitch pattern covers the rest of the key, and cross stitch stitch types puts backstitch alongside the other stitches.
Why photo patterns don't include it
Our generator's charts are full cross stitches only: every square is one DMC color, or bare fabric. A converter works square by square, and that isn't a shortcut. Backstitch is an artist's decision about where an edge should be drawn. A converter guessing those decisions would draw lines around every change of shade, and a face covered in outlines looks nothing like a photograph.
So the chart gets its detail from stitch count and close shades instead, and backstitch becomes an optional finishing layer that you add where it earns its place. Pattern Keeper users should know that the app says it currently only supports full cross stitches, with backstitch on its wish list, so hand-added lines live on your printed chart, not in the app.
Where backstitch earns its place in a photo pattern
Anything thinner than a stitch is lost when a photo is averaged into squares. Photo cross stitch pattern looks bad? lists this as one of the nine common problems. These are the details worth restoring:
| Detail | Why the chart loses it | Backstitch approach |
|---|---|---|
| Whiskers | Far thinner than one stitch; shows as broken pale stitches or nothing | A few long lines, one strand, from the whisker pad outward |
| Lettering: a name, a date | Text in a photo is almost never big enough to survive | Chart it by hand; backstitch or cross-stitched letters |
| Glasses frames | A thin line against skin | One strand in a dark shade from the key |
| A chin or jaw against a dark background | The edge blurs into the shadow | A short line in a shade slightly darker than the skin |
| Fine structure: rigging, fence wires, window bars | Thinner than a stitch | Straight lines along the grid or diagonals |
| A catchlight or eyelid line | The grid softens it | A tiny stitch or two, used sparingly |
And where it doesn't:
- Fur and hair. The shading already describes the texture; an outline flattens it.
- Around a whole face or animal. This is the most common mistake. It turns a photo portrait into a drawing.
- Soft backgrounds. Anything meant to recede should have no hard edges at all.
Whiskers, specifically
Whiskers are the classic case, and cat cross stitch pattern from your own photo covers them in detail. The short version: replace the broken whisker stitches on the chart with the surrounding color, choose only the longest two or three whiskers on each side, draw their curve on the printed chart, and stitch them last in one strand. Whiskers usually run past the fur onto the background, so check the color against both.
Planning backstitch on a full-cross chart
Work it out on paper before you touch the fabric. Improvised lines are the ones that end up unpicked.
- Stitch the crosses in the area first, or at least look at the color chart as a whole, so you're adding lines to the picture you'll actually have.
- Print a spare copy of the color chart and draw each line in pencil, following the grid corners or square diagonals.
- Keep a list of the lines: where, which thread number, how many strands.
- Choose threads already in the key. The darkest shade next to the edge usually works, and it saves a skein.
- Stitch one line and step back. Look from across the room before adding the next. Two good lines beat ten mediocre ones.
- Stop early. It's easy to add another line later, and tedious to unpick one.
About floss. Our skein counts cover the cross stitches in the chart. Hand-added backstitch isn't in them. A few whiskers or a short name in one strand won't need much, but if you use a color whose count is only just enough for its crosses, buy a spare. How much embroidery floss you need shows the arithmetic behind skein counts.
Backstitch lettering
Lettering is where most stitchers first use backstitch, and it's the most common reason to add it to a photo chart: a pet's name under a portrait, a date on a wedding or birth piece.
- Chart it on graph paper first, one square per stitch, and center it by counting.
- Backstitch suits small or joined-up letters. DMC describes it as useful for small lettering. Cross-stitched capitals suit a bolder, traditional look and need at least 5 rows each to read, as photo cross stitch pattern size explains.
- Keep one thread for all the lettering, and one strand for fine script.
- Have someone read it back before you stitch. A misspelled name is the one mistake nobody forgives a gift.
Baby birth sampler cross stitch works through a full layout of picture and lettering.
Backstitch or fractional stitches for edges?
For a smooth edge on a curve, designers use two tools. Backstitch draws a line along the edge. Fractional stitches, quarter and three-quarter stitches, fill part of a square so the stitched area itself follows the curve. Backstitch is quicker and easier to add to an existing chart, which is why it's the usual choice for photo patterns. Fractionals change the shape of the colored area and take more planning, and the Cross Stitch Guild lists them as more difficult to form on Aida.
Common problems
The line looks dotted. Stitch lengths are uneven, or there's a gap between stitches. Go down exactly into the end of the previous stitch.
The fabric puckers. Too much tension. Unpick and restitch with the thread lying flat.
The line disappears into the crosses. One strand in a mid shade can sink into dense stitching. Try the next darker shade, or two strands.
The outline looks harsh. It's probably black or too dark. Use a darker shade of the area's own color, as DMC suggests.
Curves look like staircases. You're following the holes. Shorter stitches, or piercing between the weave on Aida as DMC describes, give a smoother curve.
If you're new to all of this, cross stitch for beginners covers the basics first. When you're ready for a photo of your own, upload it, stitch the crosses, and then decide which two or three lines the piece really needs.
Frequently asked questions
How do you backstitch in cross stitch?
Make one straight stitch along the line, then bring the needle up a stitch length further on and take it back down into the end of the stitch you just made. Repeat to the end. DMC's instructions describe this sequence, and keeping every stitch the same length is what turns it into a smooth, continuous line.
Do you backstitch before or after cross stitching?
After. DMC advises adding backstitch once the cross stitches are complete, because backstitch lines can overlap stitched areas, and working them last keeps the lines on top and unbroken. On a photo pattern that also means you can judge where an outline is really needed once the shading is stitched.
How many strands should I use for backstitch?
One strand for fine outlines, whiskers and small details, which is what DMC recommends. For a bolder line, DMC suggests more strands or two rows of backstitch. Many charts use two strands for the crosses and one for backstitch, and the Cross Stitch Guild says mixing strand counts in one project is perfectly acceptable.
Should backstitch be black?
Not usually. DMC suggests using darker shades of the colors in the cross stitch instead of black for a more subtle look. A black outline around a soft photo portrait tends to make it look like a coloring book. Pick the darkest shade already in the key next to the edge, so you don't buy another skein.
Do photo cross stitch patterns include backstitch?
Ours don't: the charts are full cross stitches only, one DMC color per square. A photo has no outlines, only areas of color, so any backstitch is a decision you add by hand, usually for whiskers, lettering or one important edge. Pattern Keeper also shows only full cross stitches, so keep hand-added lines on your printed chart.
Why is my backstitch puckering the fabric?
It's pulled too tight. DMC warns that backstitch pulled too tight can pucker the fabric. Let each stitch lie flat on the surface, keep the stitch lengths even, and avoid carrying the thread a long way across the back between separate lines. Unpick a puckered line rather than trying to press it flat later.
Sources
- DMC — Use back stitch to accentuate your cross stitch (method, after the crosses, strands, darker shades, tension, piercing Aida for curves)
- DMC — How to read a cross stitch chart (backstitch lines for outlining and lettering)
- DMC — How to use stranded thread (maximum 50 cm / 18 inch working length)
- DMC — How to begin cross stitch (don't carry thread long distances across the back)
- The Cross Stitch Guild — Thread basics (two strands on 14 and 16-count Aida, mixing strands, check in daylight)
- The Cross Stitch Guild — Cross stitching on Aida (fractional stitches more difficult)
- Pattern Keeper — FAQ (only full cross stitches supported)
Keep stitching
 Technique
Cross Stitch Stitch Types: Full, Half, Quarter, Back
Every cross stitch stitch type explained: full, half, quarter and three-quarter stitches, backstitch and French knots, and which ones a photo pattern uses.
Read · 13 min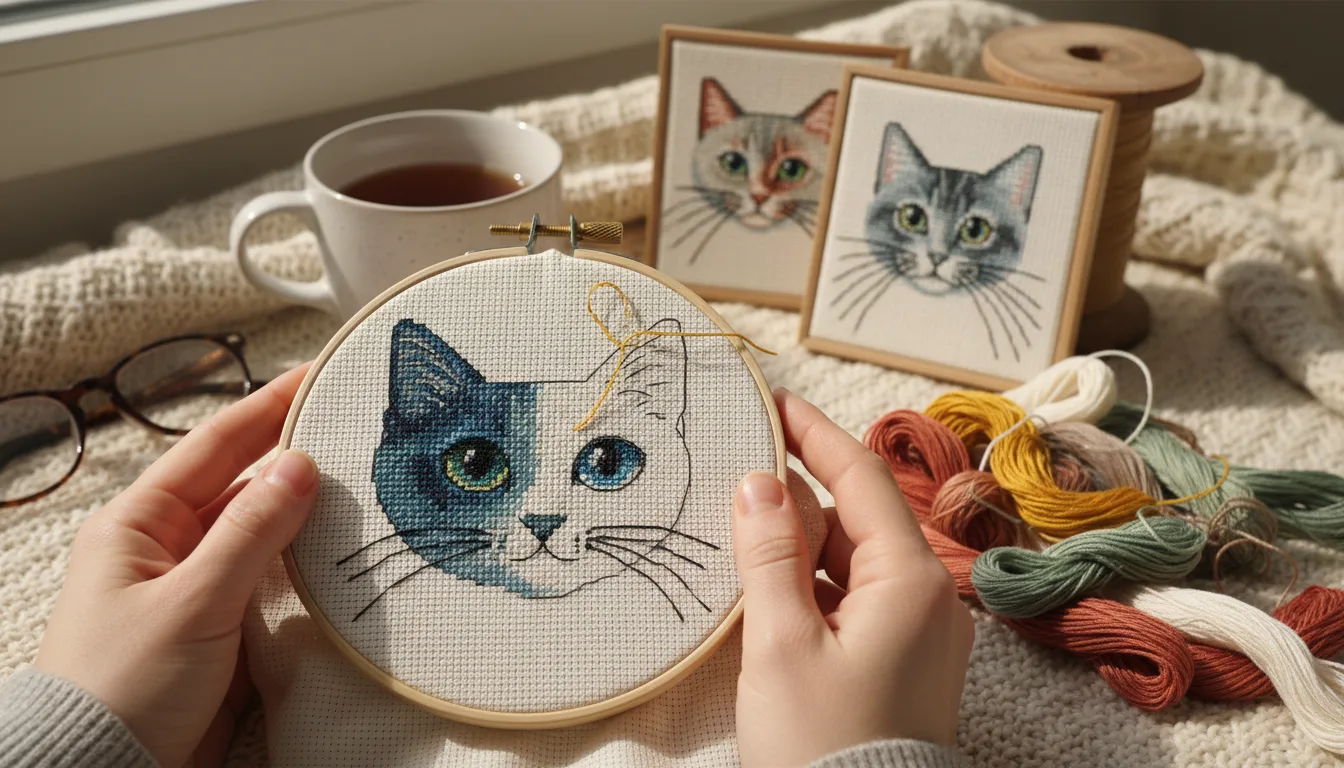 Guides
Cat Cross Stitch Pattern From Your Own Photo
A custom cat cross stitch pattern from your photo: getting the eyes and pupils right, adding whiskers in backstitch, sizing the chart and picking colors.
Read · 11 min Beginners
Cross Stitch for Beginners: Supplies and First Stitches
Cross stitch for beginners: the supplies you need, how to start without knots, how to make neat first stitches, and how to wash and finish your piece.
Read · 10 min Technique
Half Stitch Cross Stitch: Soft Shading in Photos
How to work a half cross stitch, why it looks paler and uses less thread, and how to mark sky and background areas on a photo chart for half stitches.
Read · 10 min Technique
Symbol Chart vs Color Chart: Which to Stitch From
Symbol chart or color chart? What each shows, why photo patterns with many close shades need symbols, when color helps, and how to use both together.
Read · 9 min Technique
White Dog or Cat Cross Stitch: Keep the Detail
Why white pets come out as flat blobs in photo patterns, how to photograph white fur, which pale DMC shades carry it, and the white-on-white Aida trap.
Read · 13 min